
How to Add the Recent Posts Widget to Blogger
Step 1. From your Blogger Dashboard, go to Layout > click on Add a Gadget link
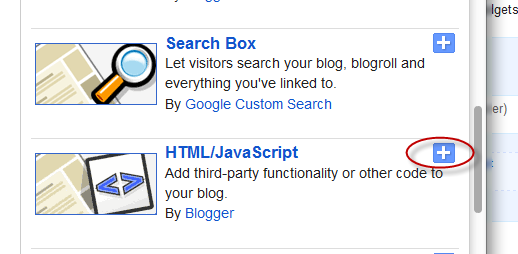
Step 2. From the pop-up window, scroll down and choose HTML/JavaScript
Step 3. Inside the empty box, add the following code:
Note:<div class="eggTray"> <script src="http://helplogger.googlecode.com/svn/trunk/listbadge.js">{"pipe_id":"1a6640e2a78b2c6e736f2220529daae5","_btype":"list", "pipe_params":{"URL":"YOUR-BLOG/feeds/posts/default"}, "hideHeader":"false","height":"500","count": 8 }</script> <noscript>Your browser does not support JavaScript!</noscript></div> <style type=text/css> .eggTray {margin:10px 0px;padding:0px;} .ybr li {border-bottom:0px #cccccc dotted; padding:0px 0px 10px 0px!important;} .pipesTitle {padding-top:0px;} .pipesDescription {display:true;} .ycdr, .ycdr a {color:#999999;} .widget .popular-posts ul {padding-left:0;} </style>
- Replace YOUR-BLOG with the url of your site/blog (ex: http://helplogger.blogspot.com) and pay attention to have no forward slash symbol "/" at the end of the url
- To disable the scroll bar, remove the number 500
- By default, this widget is set to display a maximum of 8 recent posts. To change this number, replace the number 8 with the number of posts that you want to appear
- if you want only the posts titles, change true to none and "0" from padding-top:0px with 10
Step 4. Save your widget. And you're done!


0 Comments:
Post a Comment